

I think I must have a "thing" for paper projects; I seem to have made quite a few. I can't resist pretty scrapbook paper, so I suppose I am always drawn to just a little more, and am always mulling over something to make with it. You can make these pretty little flowers in no time, and use them to decorate walls, windows, packages, scrapbook pages, envelopes, cards, picture frames, and more. Last week, I used them to help my grandsons make some Mother's Day presents for their Mama's. We had so much fun creating pictures on a canvas.


Here they are strung out on a line with clothespins, or you can also sew them together like I did with these and these. To make a canvas picture you will need the following:

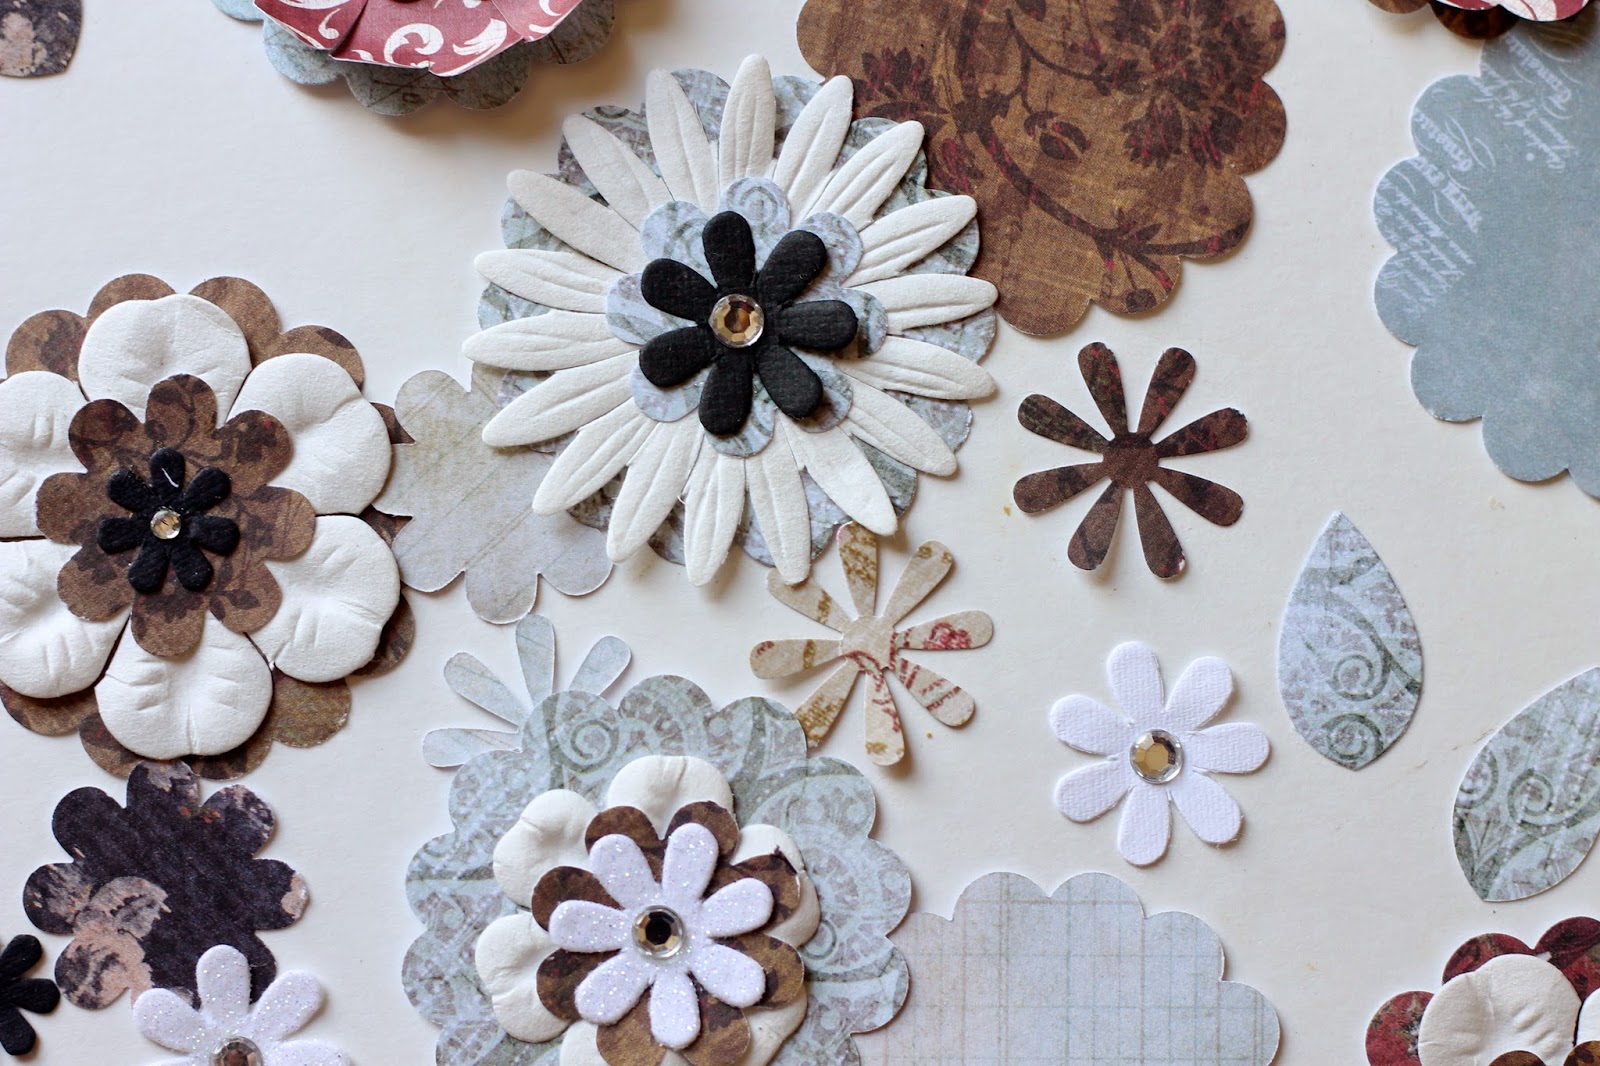
You can buy pre made flowers like the ones on the left, or you can purchase a punch with the flower shapes you want, as seen top left and top right: I combined both.
Supplies:
1. Pre-made paper flowers or
2. Paper flower punches
3. Scrapbook paper
4. Glue or brads for holding flowers together
5. Mod Podge
6. A canvas as shown below
7. Spray Paint to spray the canvas with.
Instructions as Follows:
1. Prepare a Canvas for your picture:

I had painted the canvases black before the boys came over, so they were ready to go when they got here. Black is a good color to make the picture elements pop forward.

2. Cut out flower shapes

If you purchase a flower punch, you are always ready for a project anytime of the year.

I got these flower punches at Hobby during one of their half off sales.

The boys had a good time punching out flower shapes.

Each of them loved taking their turn.


3. Layer and glue or attach each petal group together.
You can glue your flowers together, or layer them, pierce a hole in the center, and put a brad through the hole to make a cute center detail and hold them together without glue…. there is an example of the brad in the bottom picture on the left.

4. Glue Flowers and leaves to the canvas.

When your flowers and leaves are ready, draw a line on the canvas with paint or crayon or chalk that will represent the stem of the flower. Next glue the flowers and leaves to the stem.


They wanted to add a little grass on the bottom as well.

We started out using chalk, for the stems and grass, but ended up using a little acrylic paint once the Mod Podge was dry, because the chalk disappeared under the Mod Podge. You could start with paint or crayons, and allow to dry before glueing on flowers and leaves.
5. Paint over the top with a coat of Mod Podge.

6. Allow to dry.

Allow to dry 30 minutes to an hour or maybe more, depending on how thick you paint the Mod Podge on. In these pictures, the Mod Podge is still drying, because it went on really thick.


When these were good and dry, I helped the boys wrap them for Mother's Day for their Mamas. They had a great time, and were very proud to walk out the door with a present ready for Mother's Day.
Here is how it looked once the Mod Podge was completely dry.
Have fun.
Happy Mother's Day to all the Mom's out there.
Have fun.
Happy Mother's Day to all the Mom's out there.
How cute! Their mama's will love them.
ReplyDeleteWhat a special time with your grandson's,
These are adorable! Your grandsons look like they thoroughly enjoyed their crafting time. Thanks so much for sharing this excellent idea. :)
ReplyDeleteSuch a cute and adorable idea for Mother's Day or any holiday really!
ReplyDeleteI don't know if I can convince the boys to do flowers, but I might give it a try. ;)
We do love craft time around here, too!
I hope you have a lovely week! Hugs, Amy
PS... The boys loved their treasures from your grandsons. They said thank you so much for thinking of them!
Love ya!
Those are great! Now I need a trip to Hobby Lobby. :)
ReplyDeleteI absolutely love artsy people like you! I love this sort of thing...but the mess...lol it always makes me think twice before embarking on a future project! Haha
ReplyDelete